
MSOE
Rosie Supercomputer Super Challenge winners demonstrate computing prowess
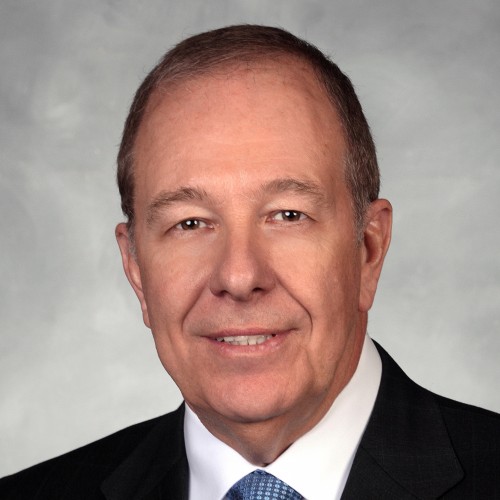
Congratulations to the winners of the 2025 Rosie Supercomputer Super Challenge! For the annual challenge, sponsored by Dr. Dwight Diercks, MSOE students…


