In this assignment, you will create a form-processing web application to provide support for multi-threading, storing data in the Servlet Context, storing data in multiple user Sessions, and error handling.
Create a new Dynamic Web Application for the Tomcat6 runtime in J2EE Eclipse named <yourname>-lab7.
Thus, when your are finished, your application will consist of one servlet (BlogEntryServlet.java), an html page (blog.html), two jsp pages (BlogView.jsp and Error.jsp), and a ServletContext/HTTPSession Listener (BlogListener.java). These are described below.
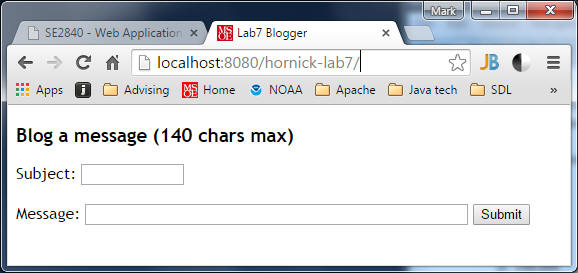
| Create a blog.html form by modifying the lab6.html form from the previous lab assignment to include a subject input field in addition to the message input field and hidden date fields. Modify your application's Deployment Descriptor (web.xml) such that the blog.html form is the default webpage that is displayed when you enter the url http://localhost:8080/<yourname>-lab7/ into the address bar of a browser: |
| When the form is submitted, it should invoke a BlogEntryServlet
(modify the FormProcessorServlet.java servlet demonstrated in lecture and
available on the course website), which should retrieve the Session
and append the information entered into an
session-based List<BlogEntry>
data structure (base your BlogEntry class on the PhonebookEntry class
available on the course website). The data structure will
be session-specific, and contain only those BlogEntry elements entered for that specific
session. NOTE: Be sure to modify your application to appropriately protect any data that is not thread-safe, since it can possibly be executing multiple requests simultaneously! | |||||||||
After adding the form data to the session-based data structure, your
BlogEntryServlet servlet should
REDIRECT the client browser to a
BlogView.jsp page, where the blogs submitted to-date can be viewed,
along with the current session id and the current number of active
sessions. Use the application and session implicit
variables within the jsp to retrieve the blog entries for the current
session, the current session id and current number of active sessions (do
not use request parameters).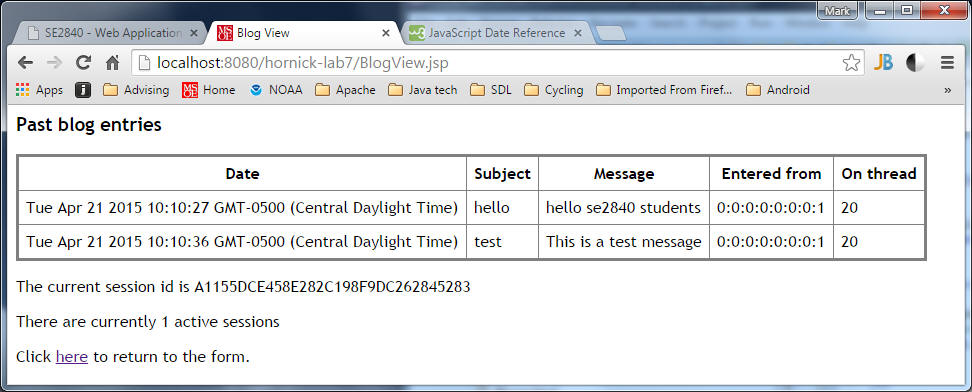 \ \Use a 2nd browser to simulate another user submitting blog entries, thereby creating a 2nd session (note: using a 2nd tab in the same browser does not create an additional session): 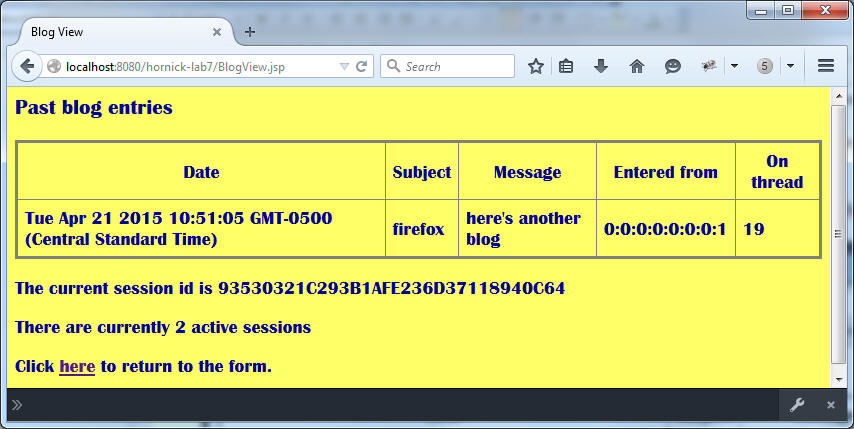 | |||||||||
Create a BlogListener.java class that implements both the
ServletContextListener and HttpSessionListener interfaces. You
will use this class to create both the single Servlet Context as well
as multiple Sessions.
| |||||||||
You must add both client-side and server-side validation to your app. On the
client-side, using jQuery or plain JavaScript, validate the form input elements
so that the form is submitted only if all input elements are not empty,
and generates an error message if they are. Of course, you may choose to
implement more extensive validation if you choose, which would normally be
done in practice. 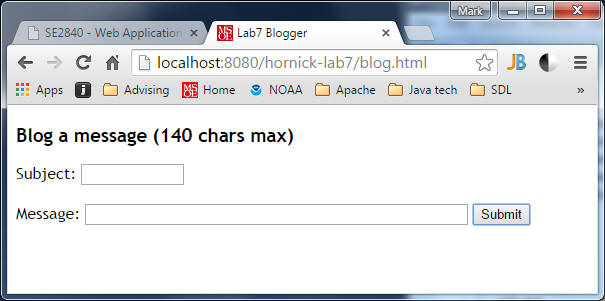 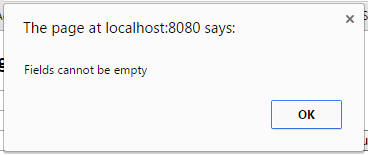 On the server-side, the FormProcessorServlet validates by checking the submitted content of the input fields: When a user types ??? into either of the text fields, the servlet must add a custom error message to the request object as an attribute and FORWARD the request (via a Request Dispatcher) to a custom error page (Error.jsp) that displays a "user-friendly" error message notifying them of the invalid data entry. This error page should contain a "return to form" hyperlink that, when clicked, leads the user back to the initial form page: 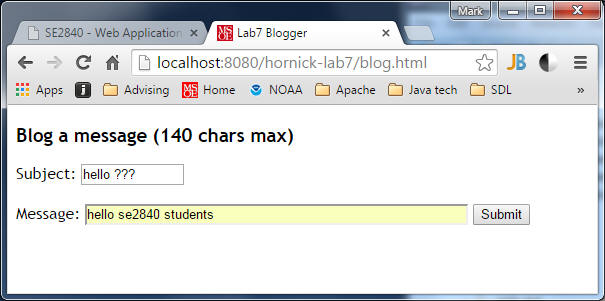 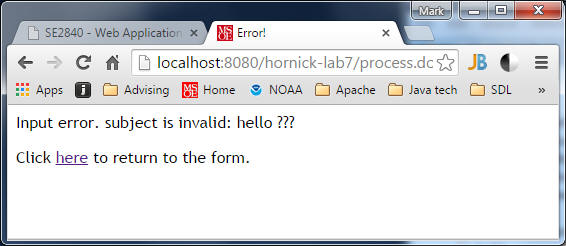
| |||||||||
| In the web.xml file, add a session-config entry that
specifies the session-timeout value of 1 (minute). This will result
in the automatic destruction of Session data whenever a browser is
idle for more than a minute. |
When you have finished,
1. Deploy your application to the sapphire server via this Tomcat Web Manager Application link. (Note: you need to either use a VPN or be on-campus to be allowed to access the sapphire server over the network). At the bottom of the Tomcat Web Manager page, you'll see a Deploy section with two forms (Deploy Directory... and WAR file to deploy). Use the War file to deploy form to browse to the location on your local PC filesystem where you created the .war file containing your web application. Note: You create the .war file from within Eclipse by selecting your project and choosing the Export... command from either the main File menu or the context-menu that appears when you right-click on your project. Use the username and password supplied in class in order to login to the Tomcat Web Manager app.
2. zip your Eclipse src and WebContent folders (NOT the entire project folder) and submit it to Blackboard.