npm install --save-dev @babel/core
npm install --save-dev @babel/cli
npm install --save-dev @babel/preset-react
In this assignment, you will refactor the client-side BusTracker application from Lab 7 to use React instead of jQuery. The NodeJS server code remains exactly the same.
| Step 1: The first thing you should do is get your project development
environment setup appropriately. You will need to use NPM to install the
following additional packages for Babel, which is used to transpile JSX code to
pure Javascript code: npm install --save-dev @babel/core npm install --save-dev @babel/cli npm install --save-dev @babel/preset-react |
From previous labs, you should already have used NPM to install express,
express-favicon and mongoose.
In Webstorm, go to File/Settings.
Under Languages & Frameworks/Javascript, select
React JSX as the Javascript
language version. This will save you much frustration
later on.
| Step 2: To make sure you have everything you need, download
reactDemo.html, and jsxApproach.js from the course website. Place these files in the webcontent subfolder of your webstorm project. | |
| Step 3: The file jsxApproach.js needs to be
transpiled with Babel. To do this, type the following command at the command
prompt (in this example, the project folder is
C:\Users\hornick\Documents\MSOE\Courses\Example Programs\se2840\ReactDemo;
you would be running Babel from your own project folder): "./node_modules/.bin/babel" --presets @babel/preset-react webcontent/jsxApproach.js --out-file webcontent/babel_jsxApproach.js | |
| Step 4: Open reactDemo.html from your browser and press the button on
the web page that appears. Demo to your instructor. |
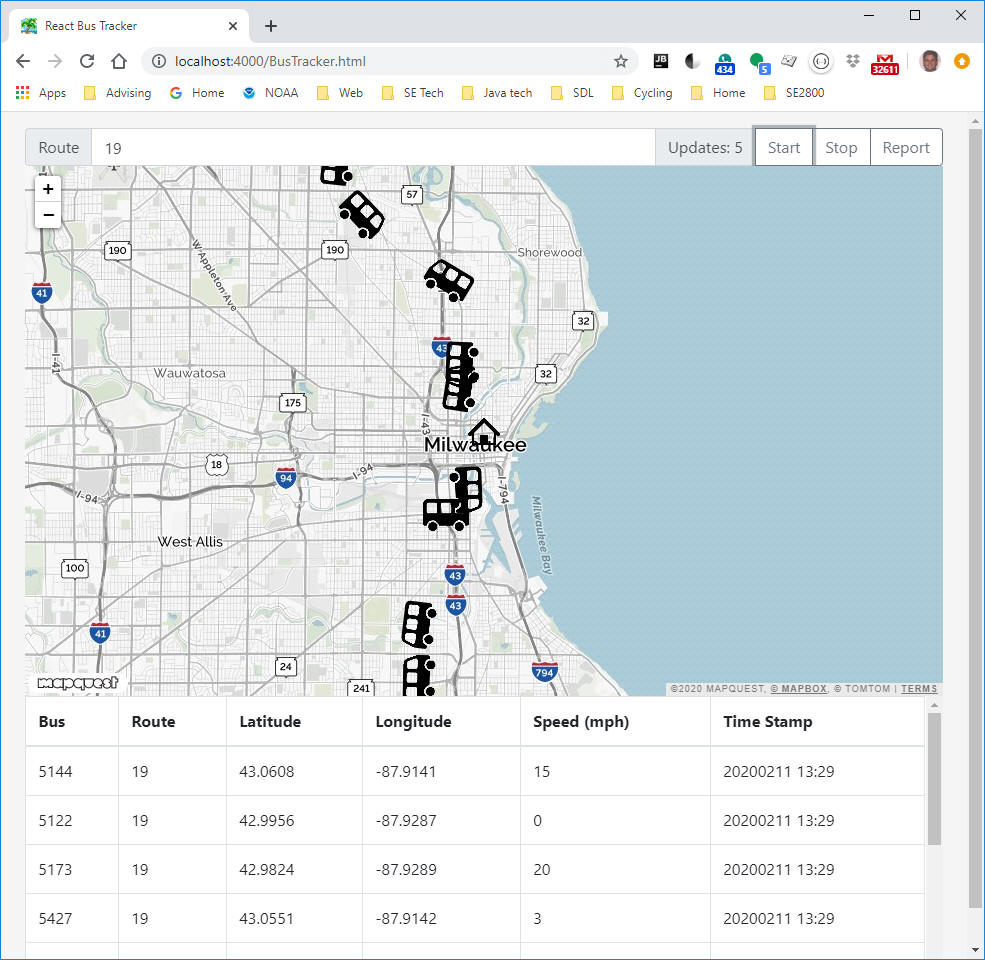
You'll be developing a React Component to represent both tables - which must be scrollable.
Previously, the "buses on route" table contained route,
vehicle id, speed, latitude, longitude, and distance (rt, vid, spd, lat, lon,
dist).
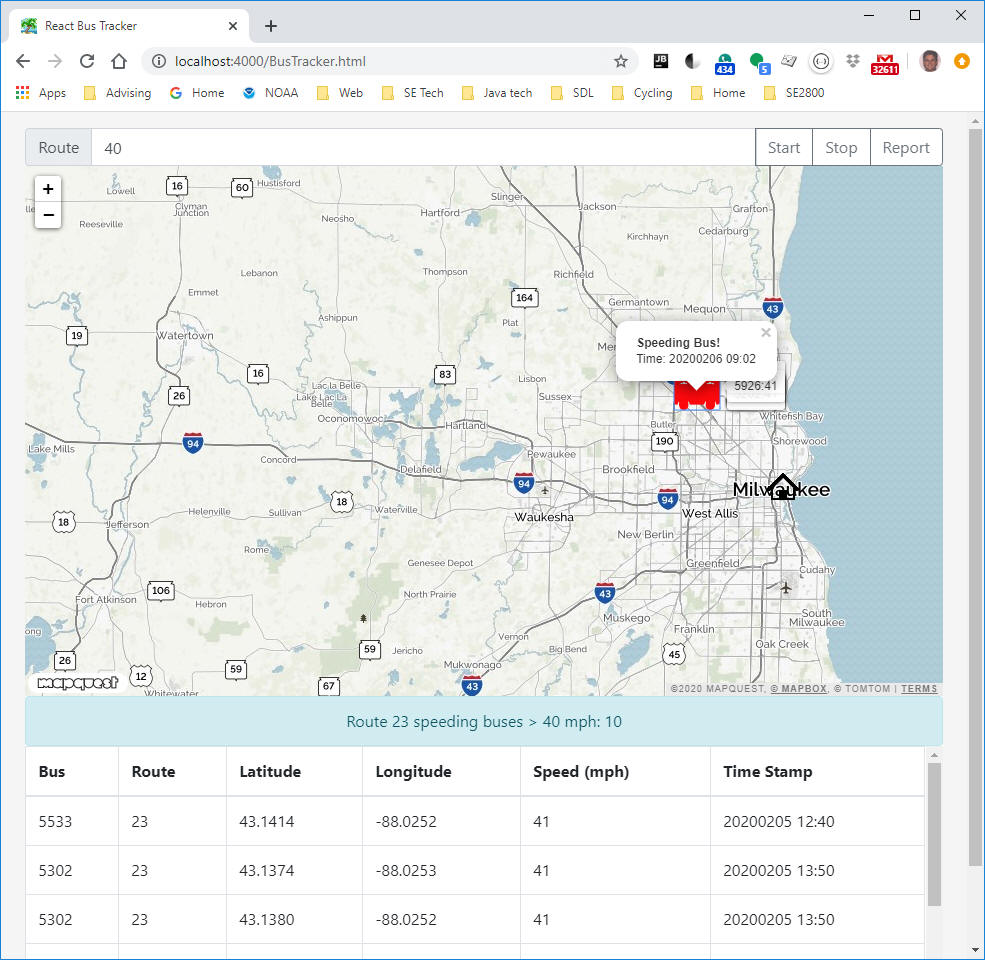
The "speeding buses" table contained route, vehicle id, speed,
latitude, longitude, and time stamp (rt, vid, spd, lat, lon, timstmp).
IMPORTANT: Write your component to to conform to a single format, such that both tables will display the time stamp rather than distance in the last column). We're doing this since we didn't capture distance in the mongo database for speeding buses, and thus can't display that information.
Your html and js files will have to be changed significantly - you will need a new BusTable.js file that implements the React View Component responsibilty, separating it from the Controller responsibility within BusTracker.js.
To accomplish this study and follow the same approach as in the final version of the example code (reactDemo.html etc) discussed in lecture or in reactPhone.html, jsxPhoneController.js, and jsxPhoneTable for hints and notes on how to approach this.
React and Bootstrap do not work well together, and neither do React and jQuery. Be sure to look at jsxPhone.html, read the comments, and use the same "minified" Bootstrap and jQuery scripts found there in your BusTracker.html file
Remember: whenever you make a change to the BusTracker.js or BusTable.js files, you will have to use Babel to transpile them into Javascript.
Review your graded work from Lab 7 to eliminate errors you may have had in that submission.
Your grade will be based on the following: