Deliverables
- (optional) Zip code of your source code for this lab. This should contain a zipped folder which contains the m-files directly inside it. Please do not submit deeply-nested source files.
- cameraParams.mat, created by running
save cameraParamsfrom Matlab. reprojectPoints.m
Overview
In this lab, we will explore 3D camera calibration. The primary tasks will be:
- Calibrate a camera to find its intrinsic parameters using a toolbox
- Backproject objects of known size into world coordinates
- Play with live video
Capture images of grid with Logitech software
Option 1: Whatever technique you want
Just make sure the captured images are the same size as the original.
Option 2: Matlab
Use imaqtool to capture the images. At the bottom of the screen, in the "Acquisition Parameters" section, in the "Triggering" tab, select "Manual" to see a preview video when you hit "start acquisition". Hit "Trigger" to capture a single frame.
This code may be helpful... if you save your images to the workspace as frame1, frame2, etc.
for i = 1:10
frames(:,:,:,i) = eval(['frame' num2str(i)]);
end
for i = 1:size(frames,4)
imwrite(frames(:,:,:,i),['image' num2str(i) '.png']);
end
Option 3: (If usin gthe fancy Logitech cameras
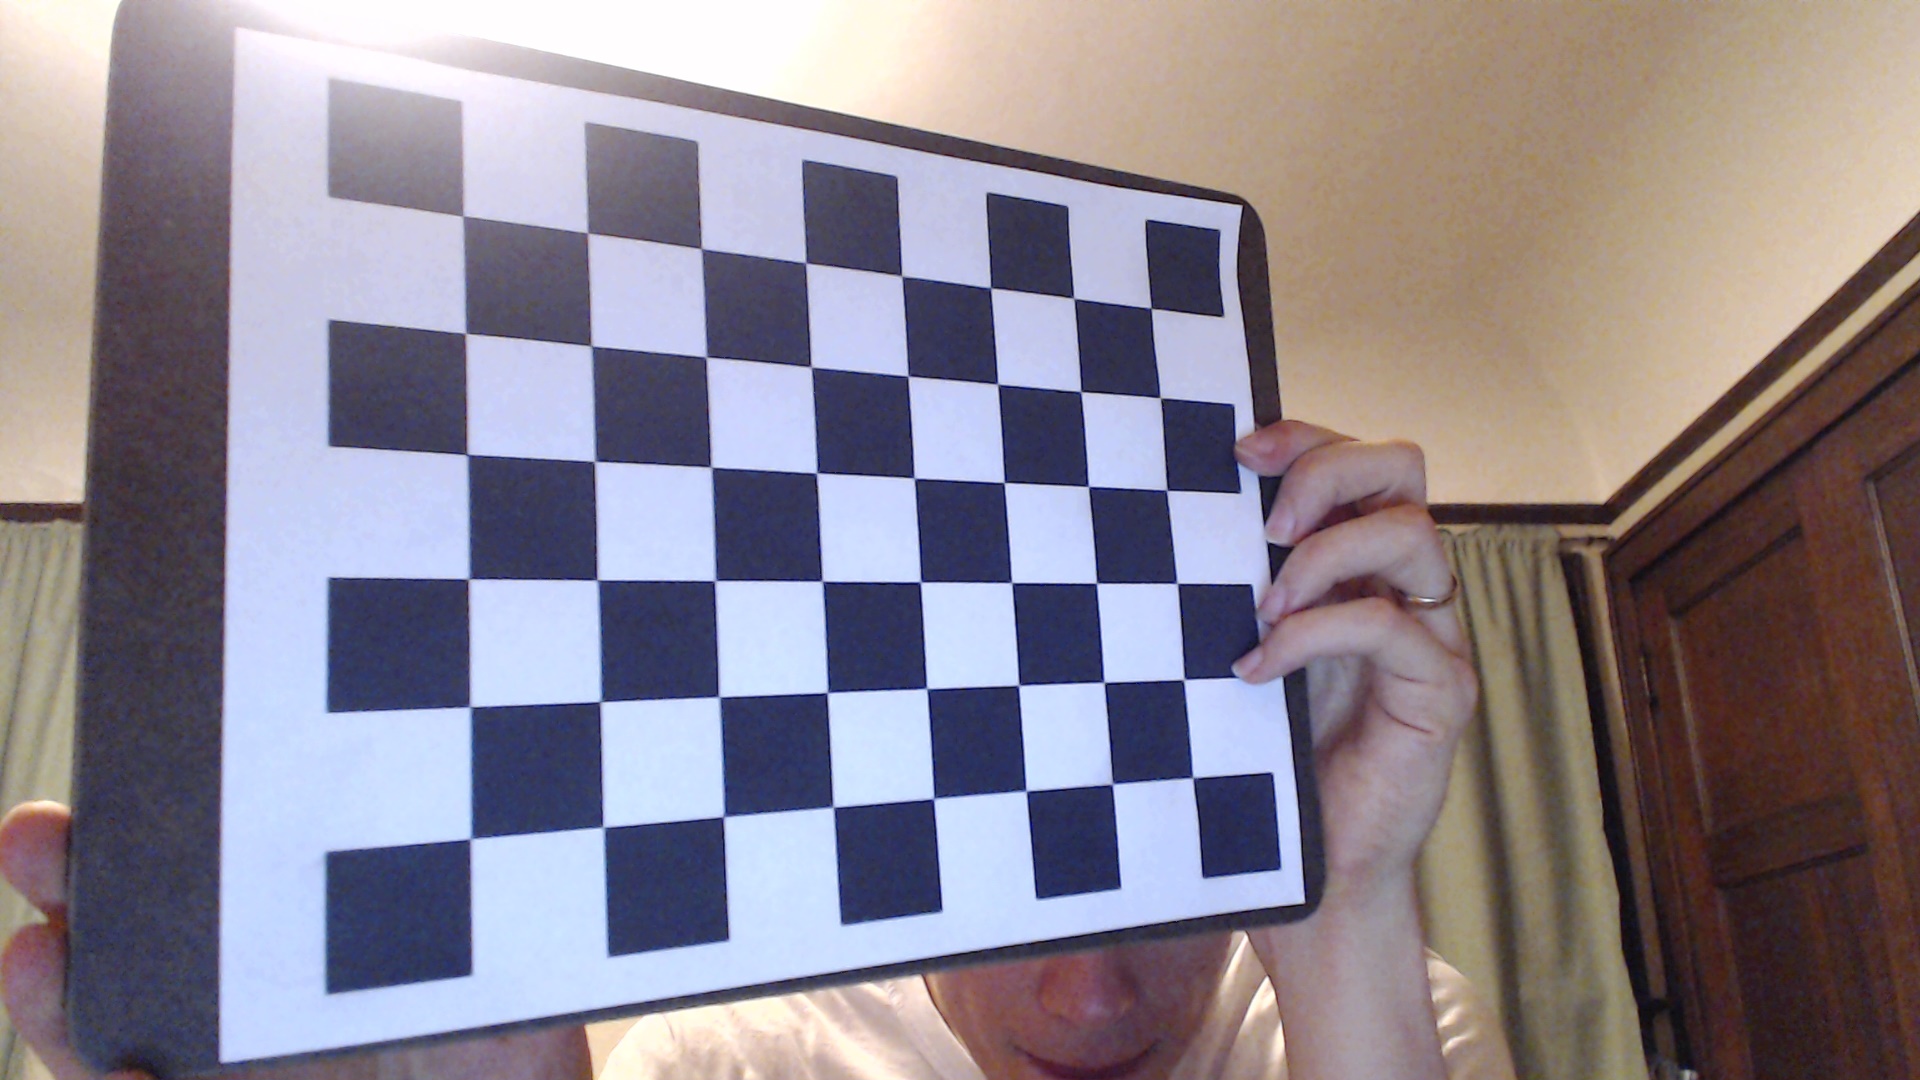
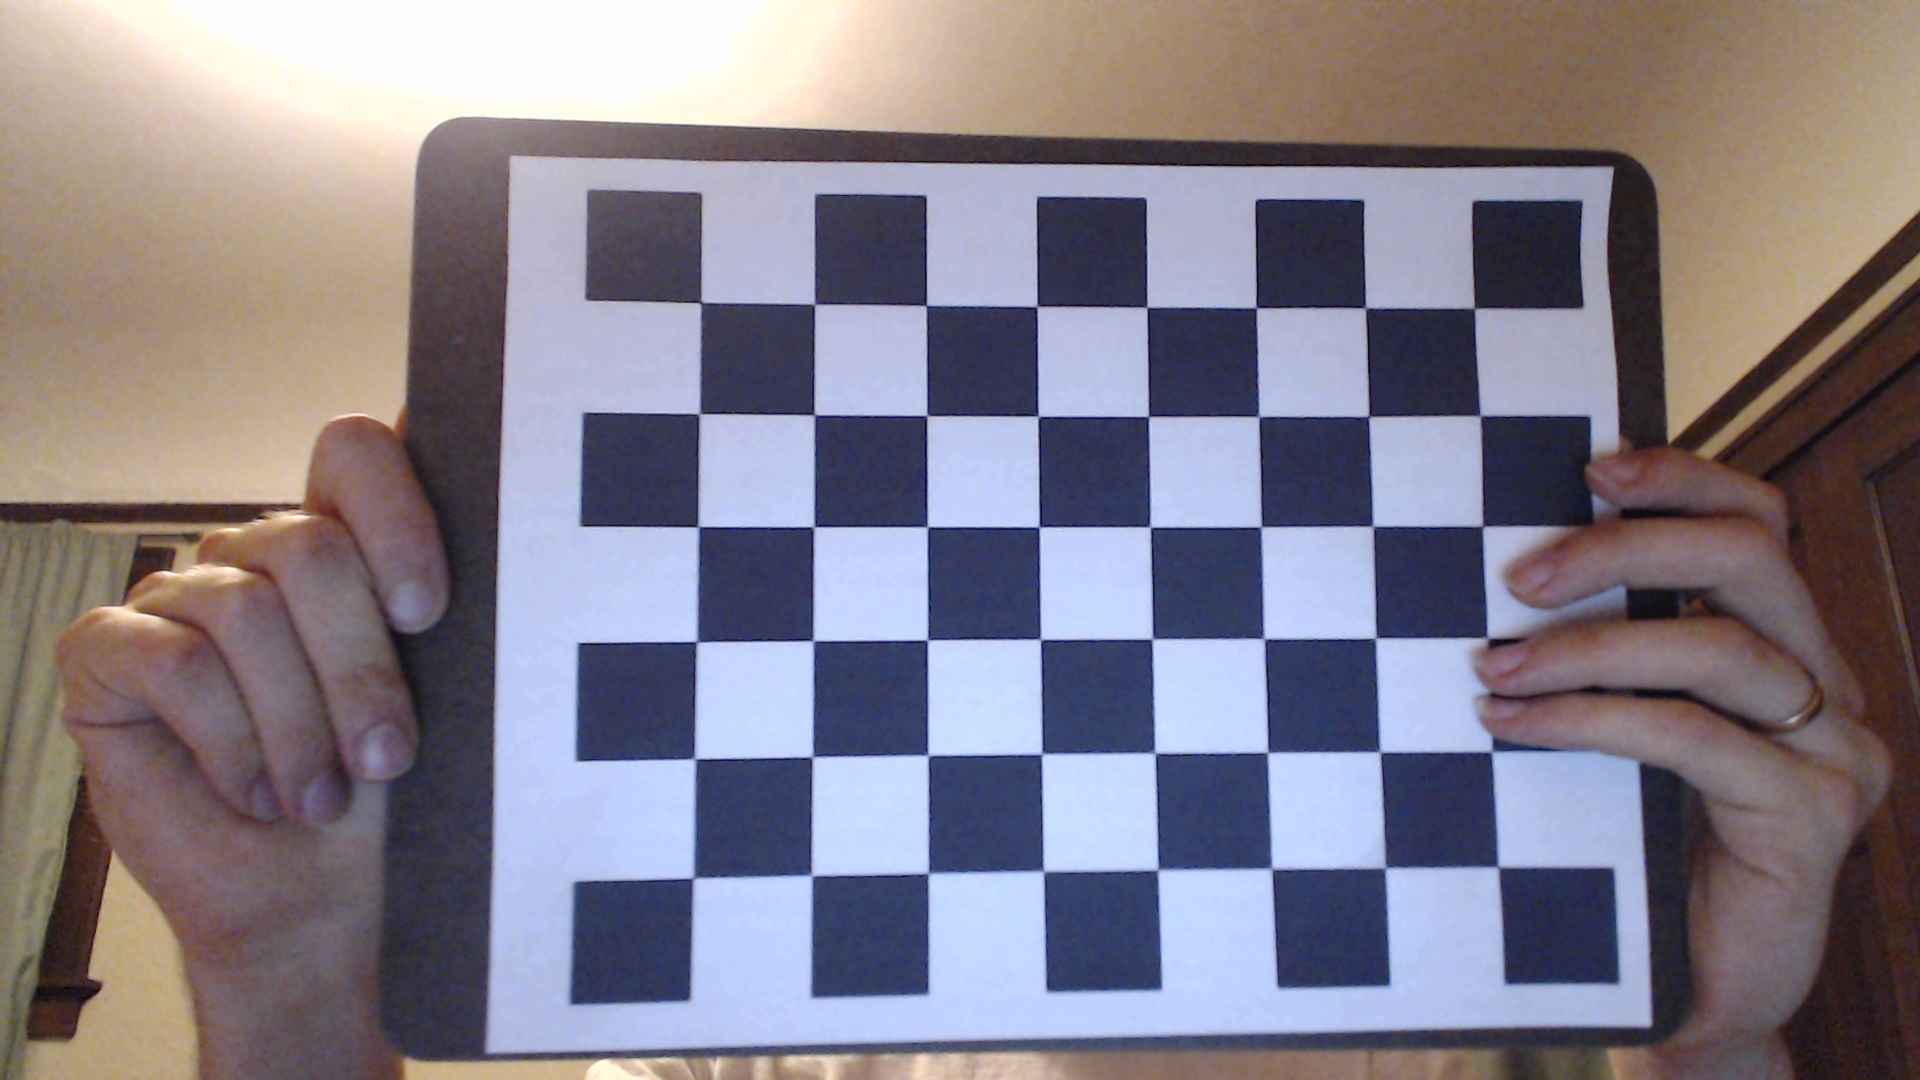
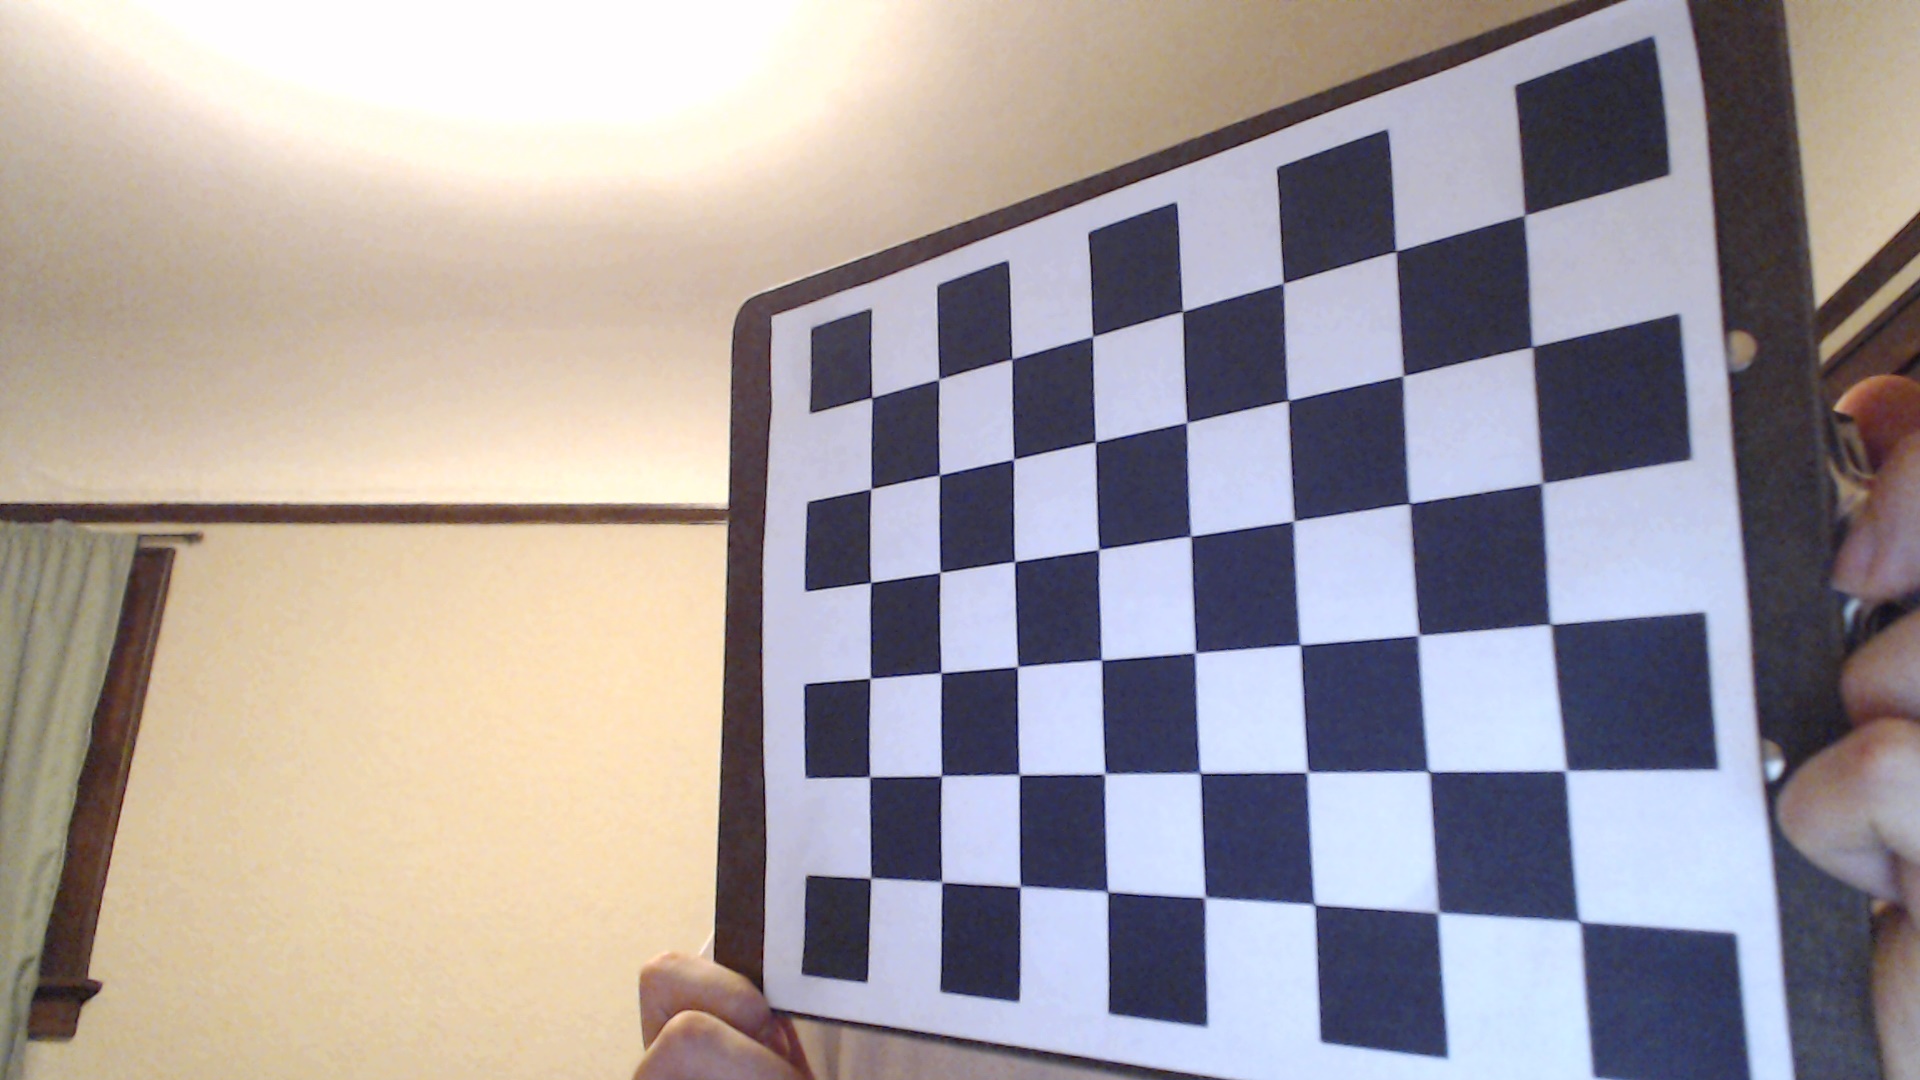
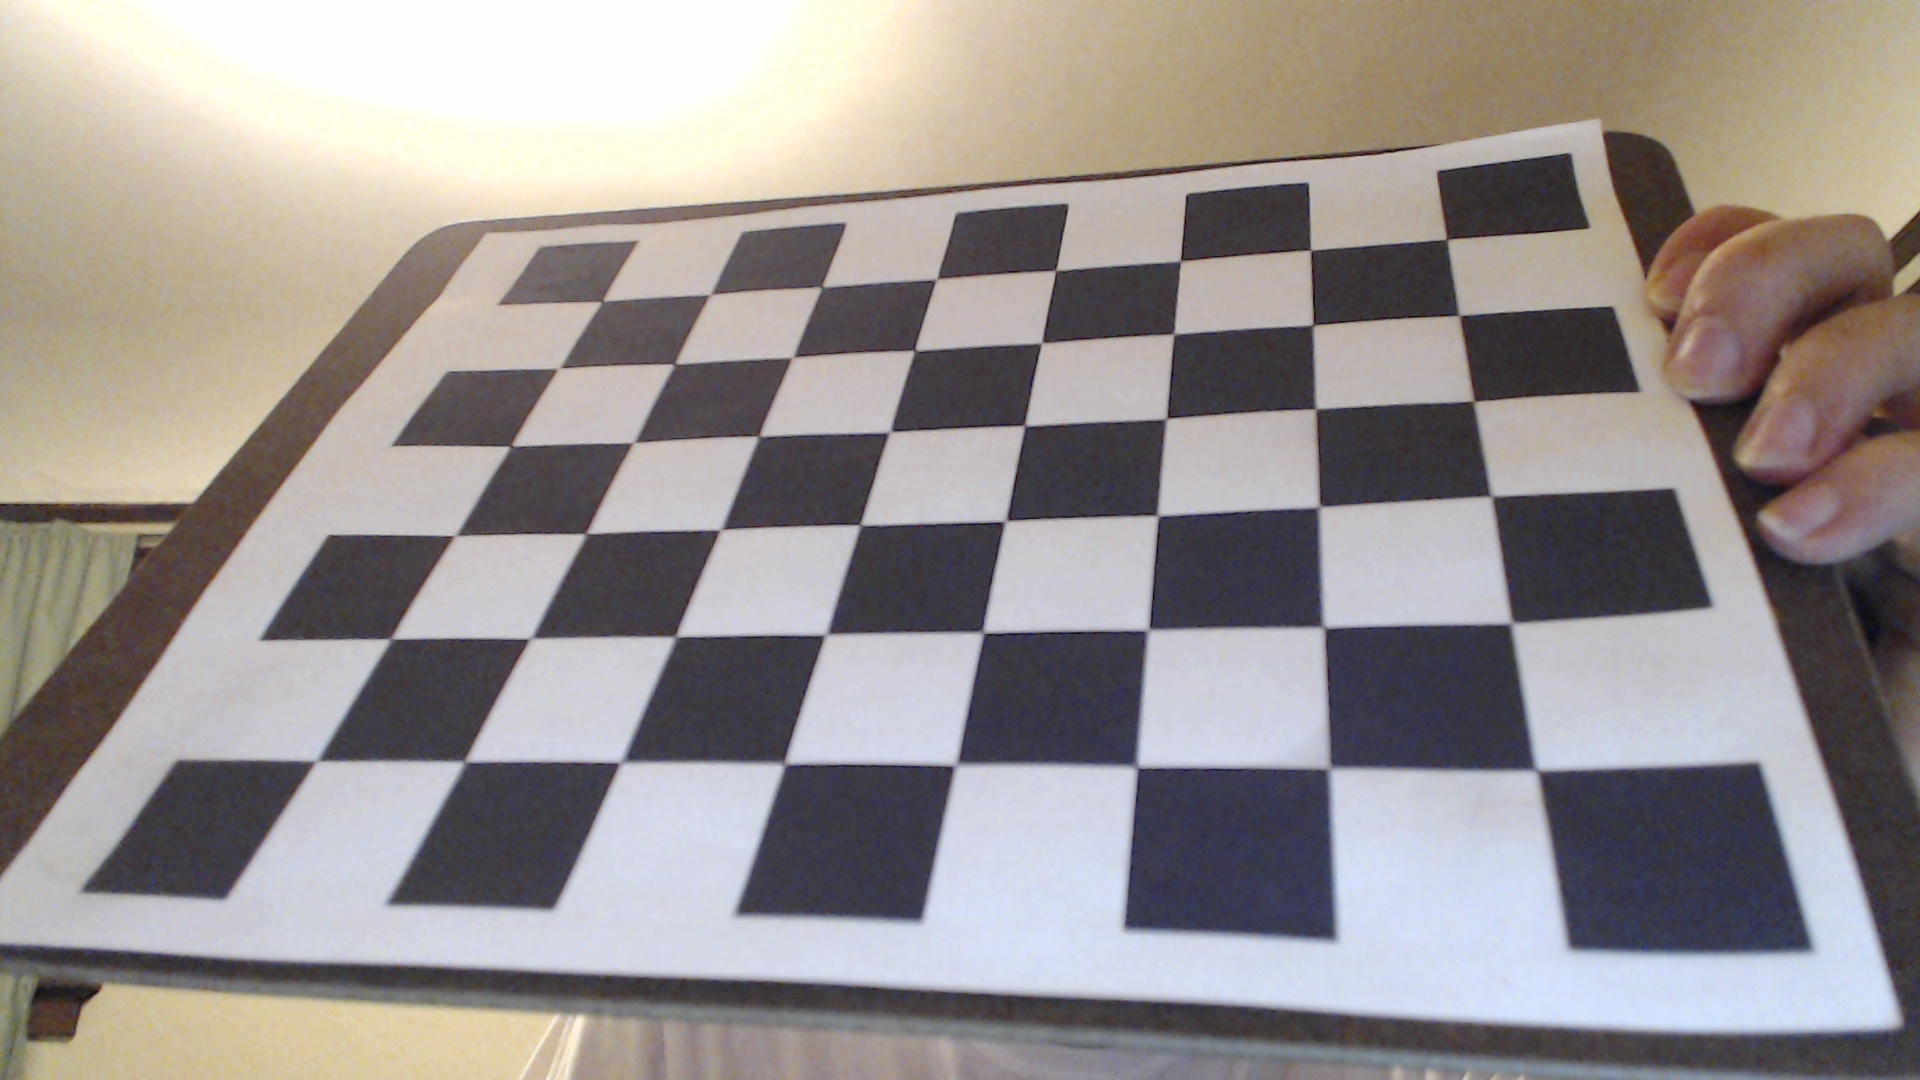
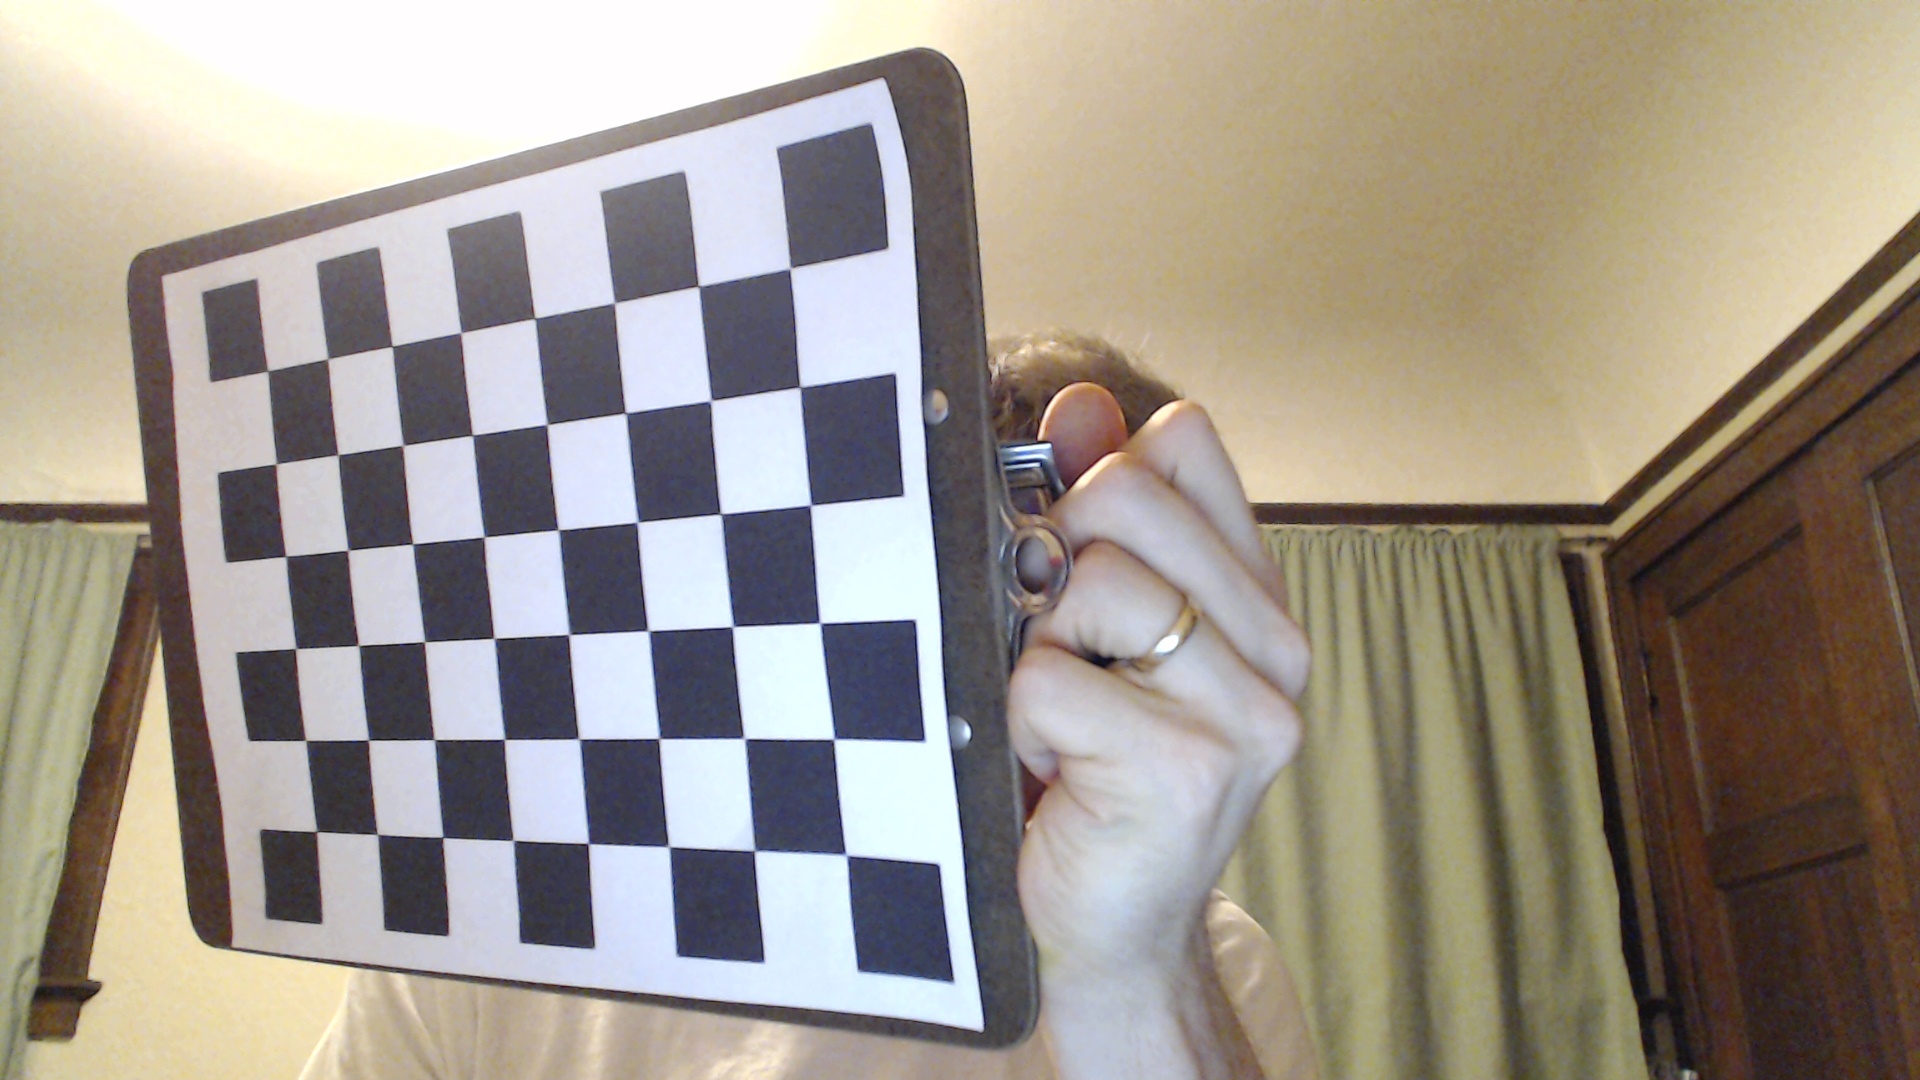
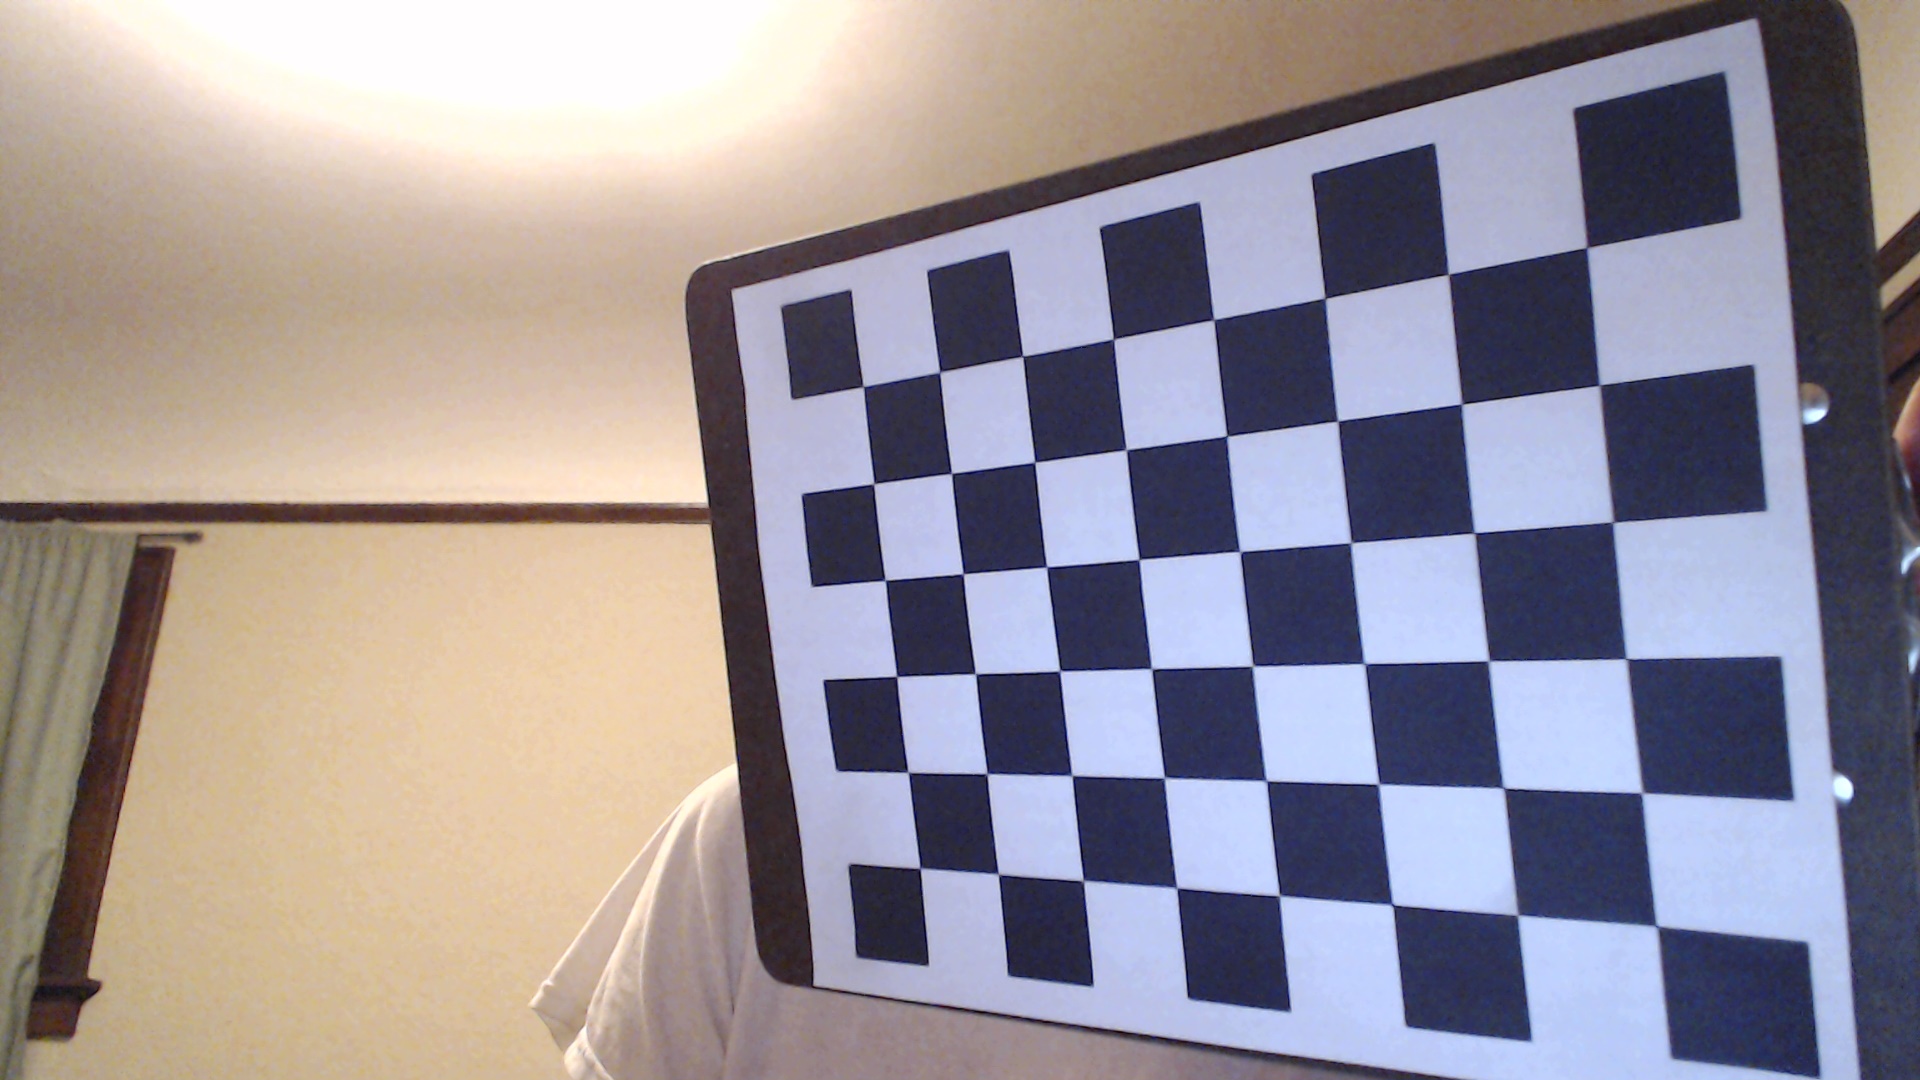
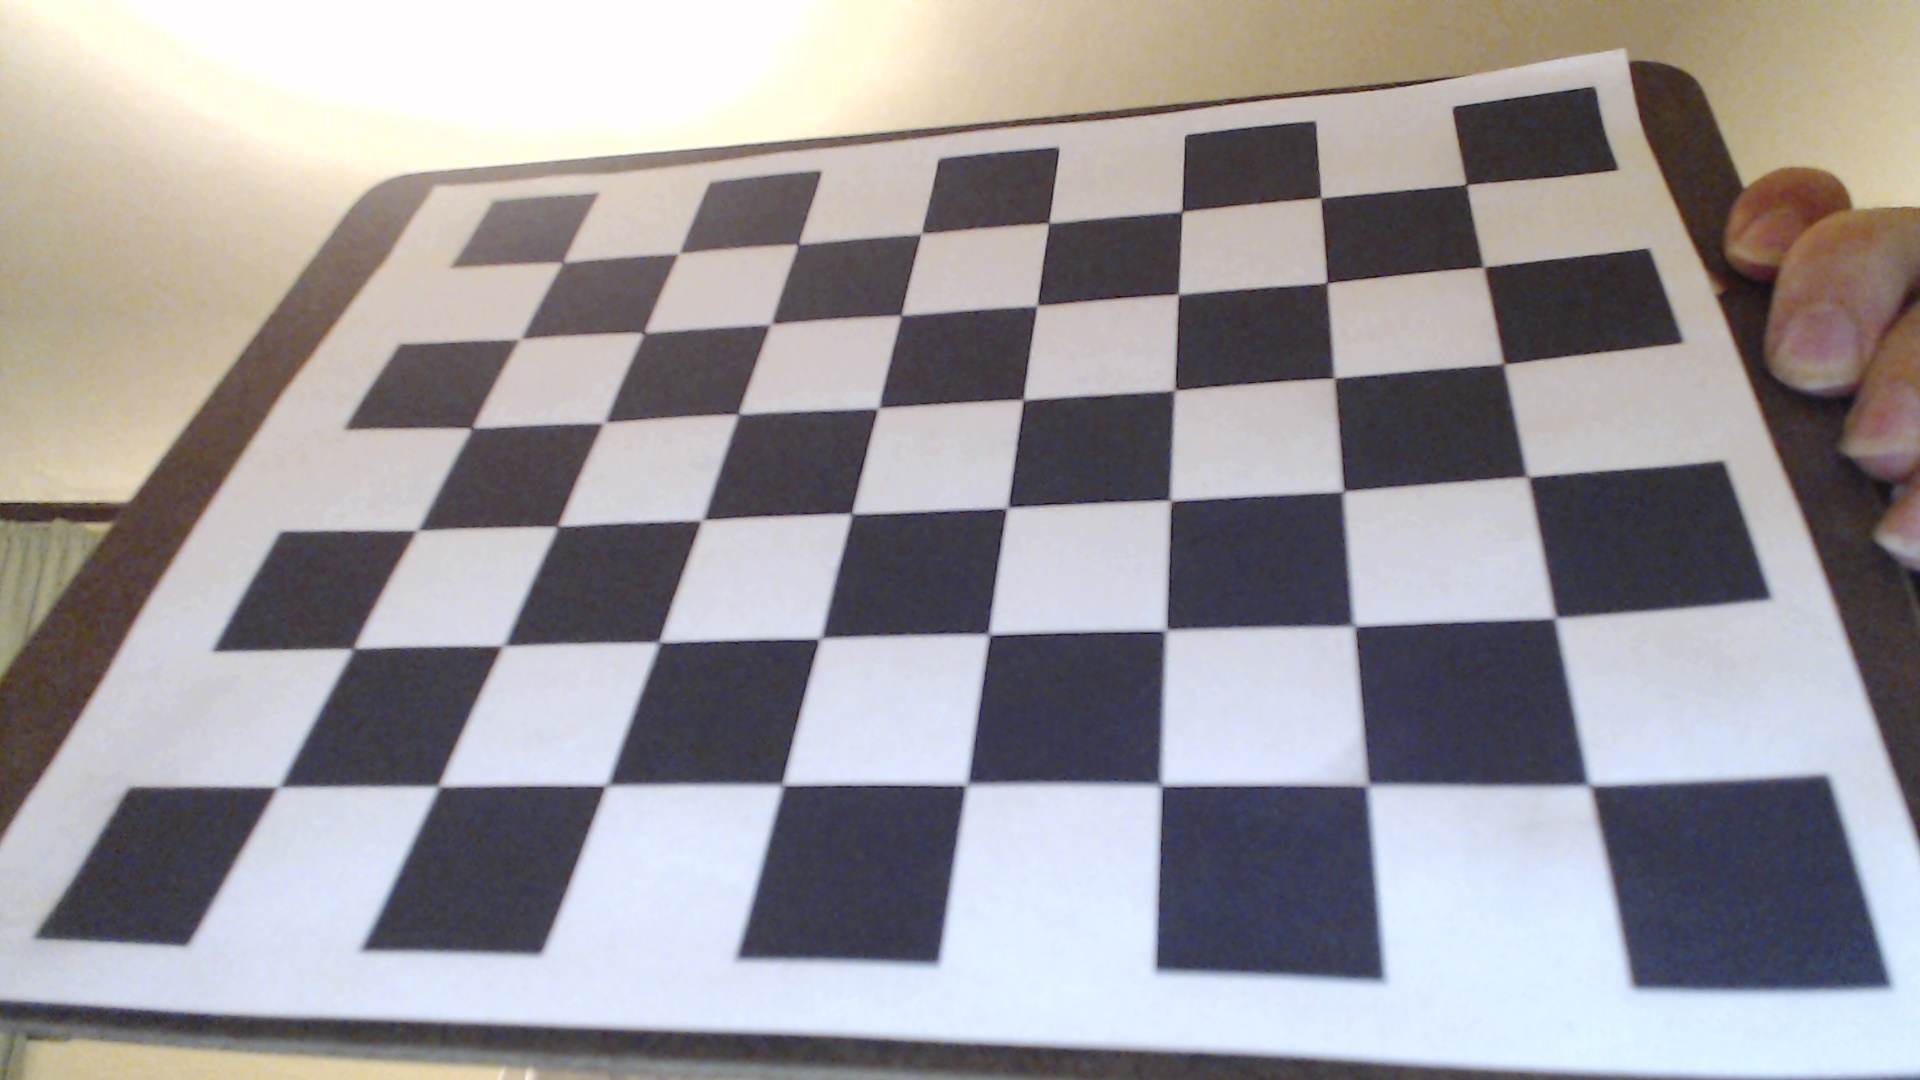
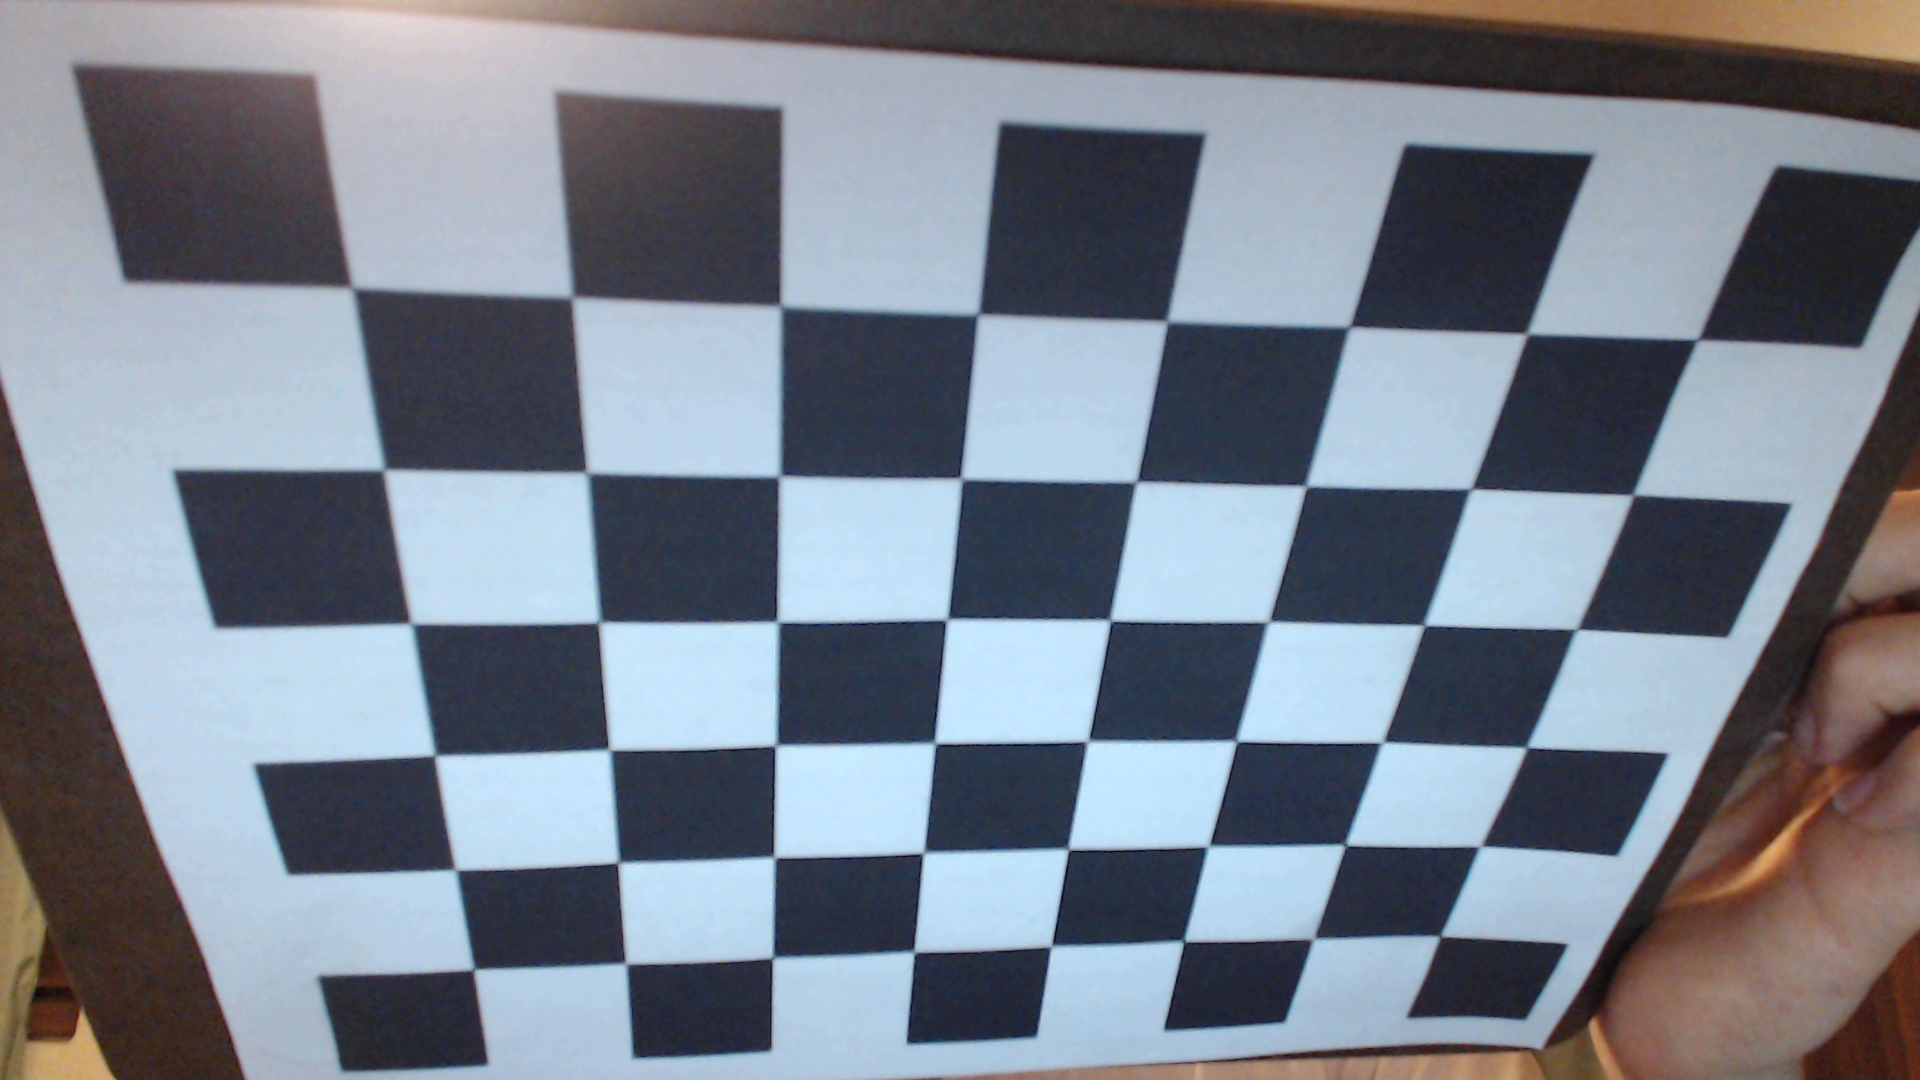
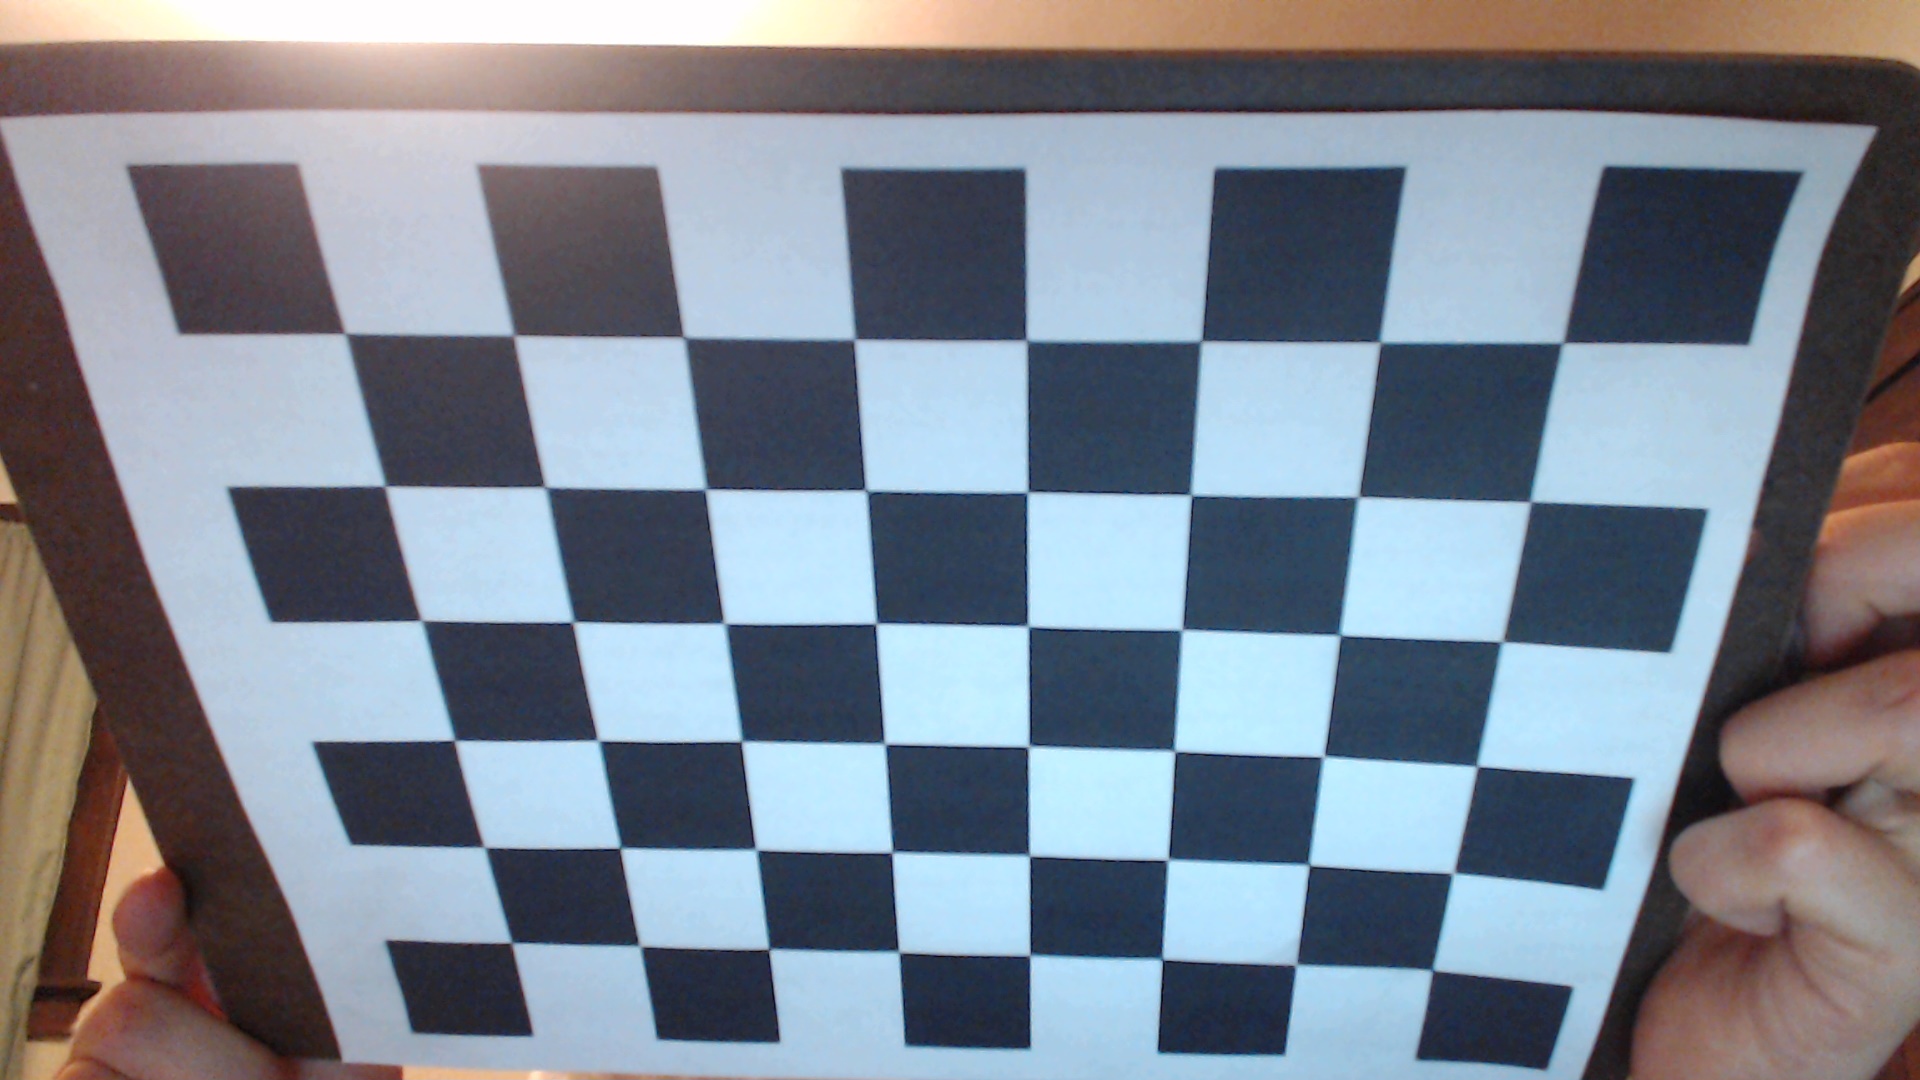
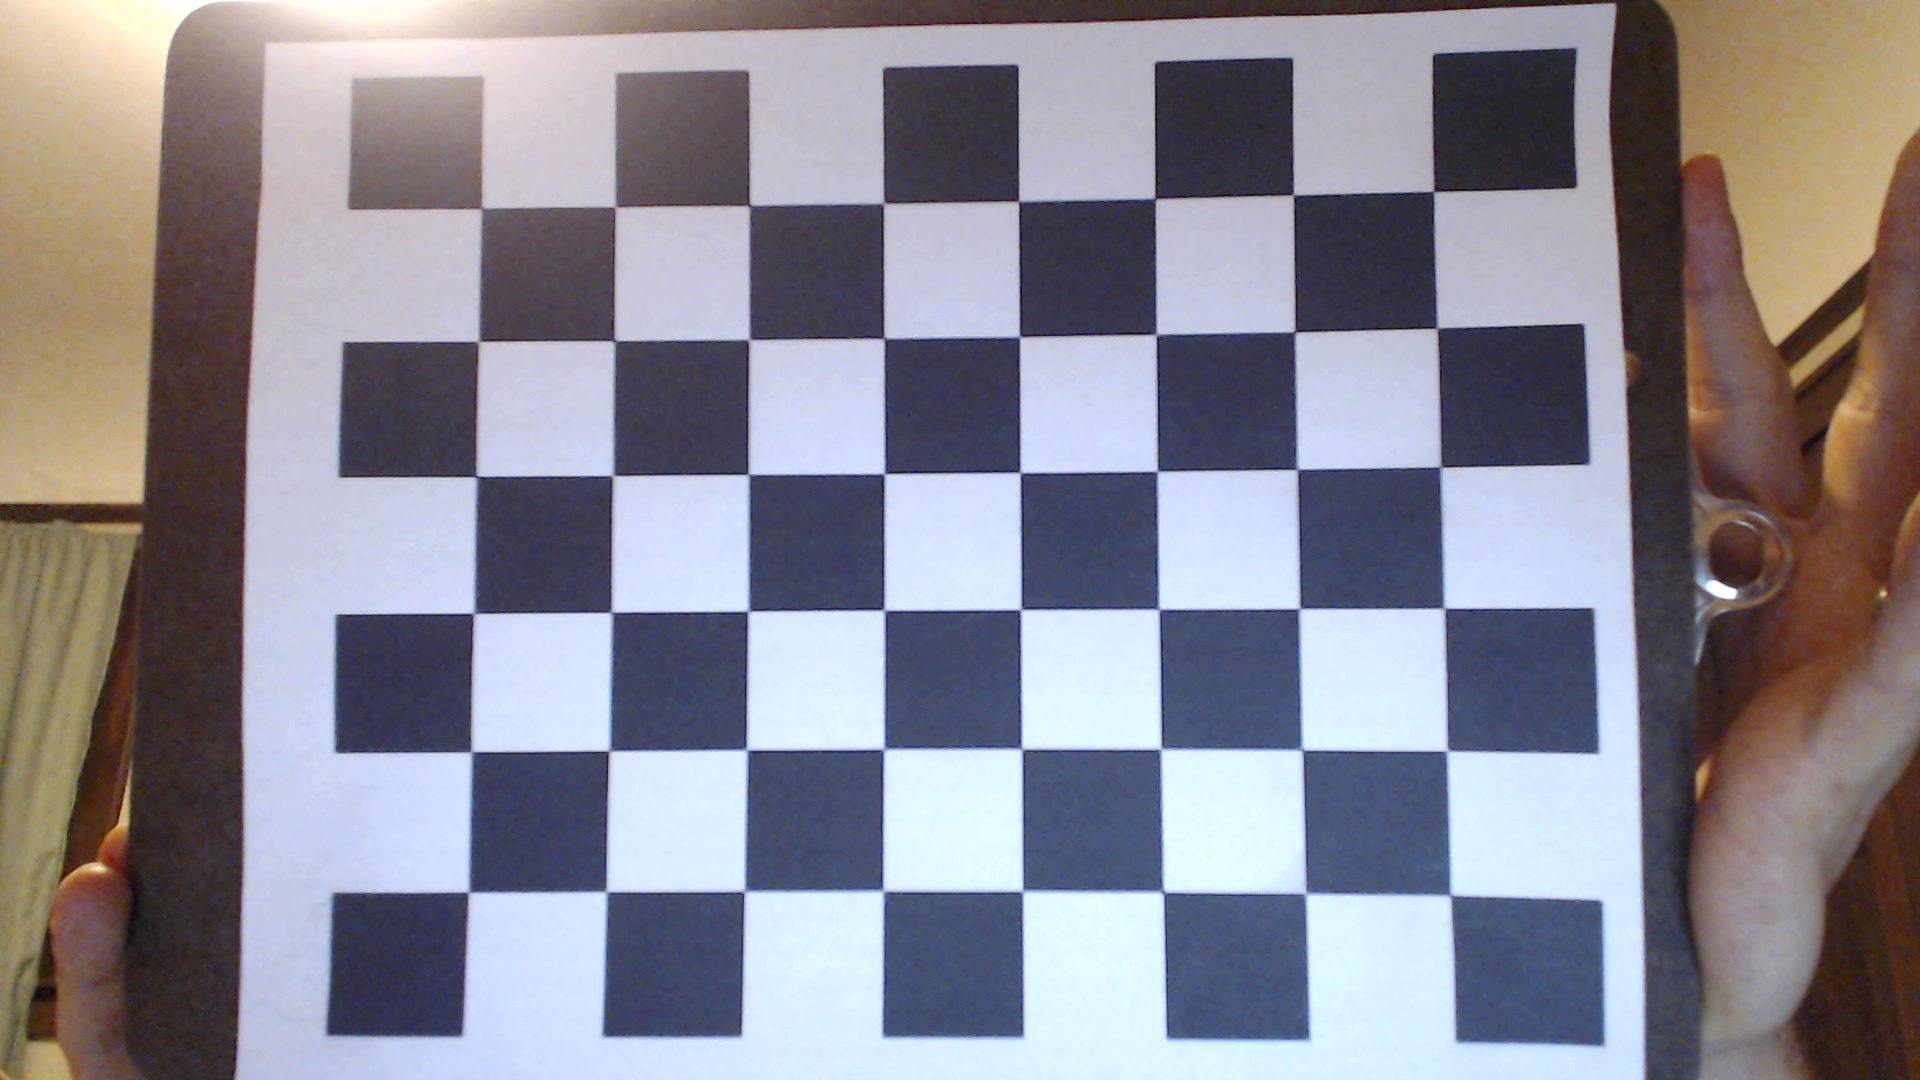
Print the calibration pattern, and tape it as flat as possible on a hard surface like the back of a clipboard.
Go to Logitech C920 camera support, click on Downloads, and download lws251.exe for your machine.
Once this program is downloaded, run it to install the software that comes with the camera. The "Logitech Webacm Sofware" should start running as soon as the install completes. Click the "Quick Capture" button to go into caputure mode. Take about ten pictures of the grid, with the grid filling as much of the image as possible, and at different angles, as in the examples below. (It is important for the grid to be at an angle, and not just flat in the image. In effect, this helps the camera measure "depth" of the camera's viewing volume.)


Click on the "Photos" tab at the bottom. Right-click any image, and selet "Go to file." Copy the resulting images to a convenient directory, which we will call the image directory.
Calibrate the camera
(Although for this lab, we are calibrating our C920 Logitech webcams, you could use this technique with images from any camera you wish to calibrate. If you are calibrating a camera with a zoom, be sure to take the pictures at a repeatable zoom setting, such as zoomed all the way out or in.)
You may wish to run this demo with the fancy Logitech webcam used in SE3910 . This would only require editing of the script which selects cameras in the demoV3.zip file.
Run the command cameraCalibrator
Now begin calibration. Click on Add Images
Once you have successfully marked all the images, click "Calibrate"
At this point, it can be fun to try out some of the othere features of the GUI.
Before you exit matlab or close the calibrator, be sure to "Export Camera Parameters", using the default name cameraParams for the exported variable. (You can save the exported variable as save cameraParams. This will save the cameraParams variable into a cameraParams.mat file, which you can load later with load cameraParams)
Reprojecting points
Before running the demo, be sure cameraParams is in the workspace. Extract demoV3.zip,
Then run demo. If you end the demo early by typing Ctl-C, reset the camera capture using stop(vid);flushdata(vid);. If that doesn't work, use imaqreset.
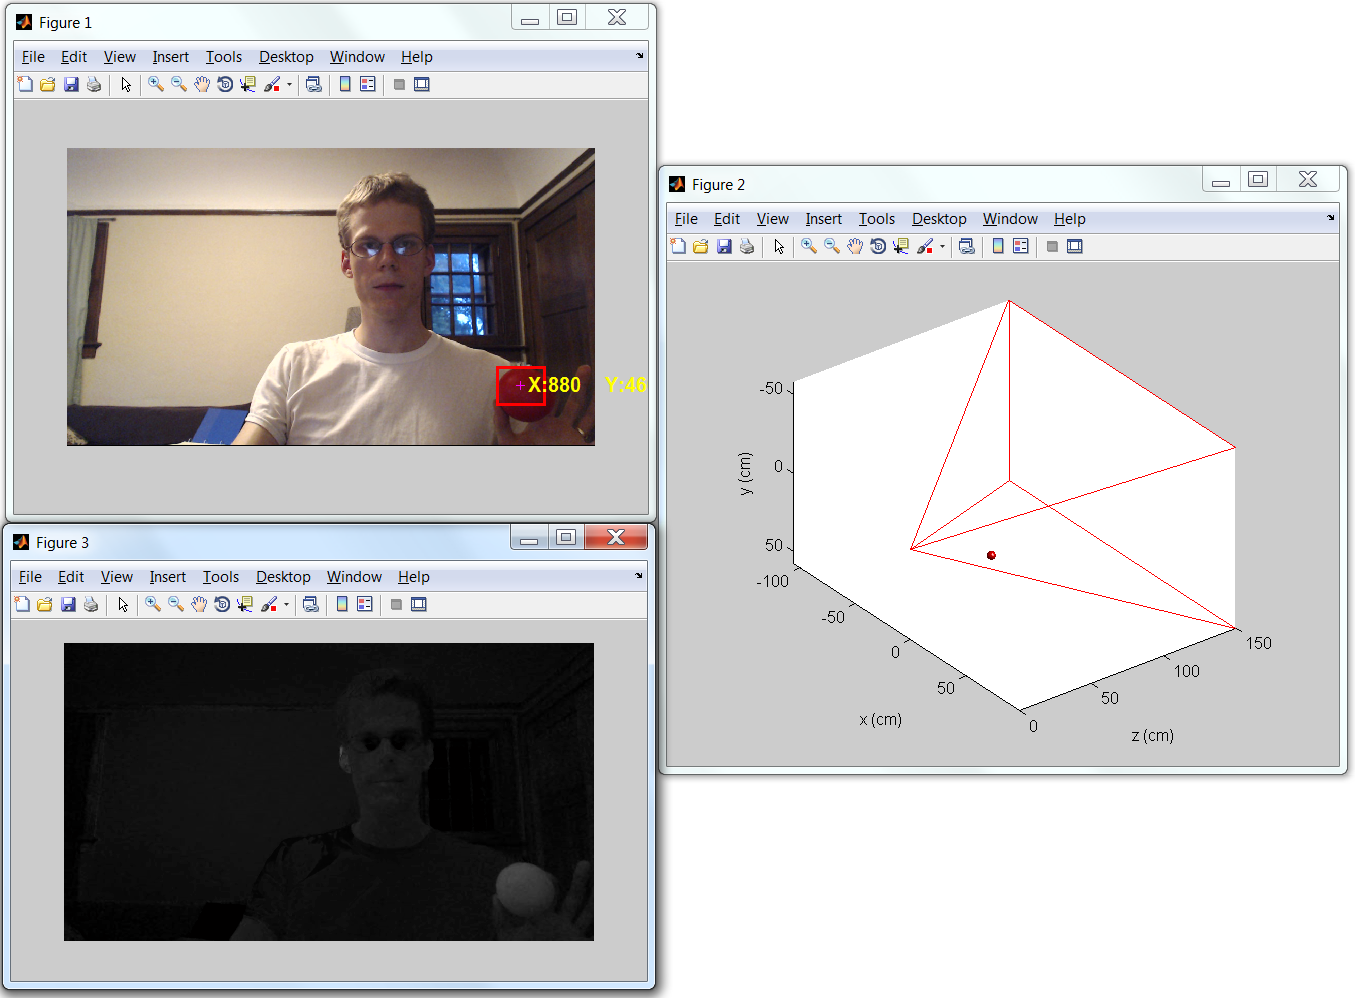
This demo should run, displaying a color video stream that will dispay a box around any red objects you put into the field of view. However, the 3D display will be unusable. (See the next section for more about that.)
(New in Matlab 2014a) The first time you run the demo, it may display this warning: (the following information is "new" as well-just not highlighted to reduce eye-sore and allow highlighting of key points)

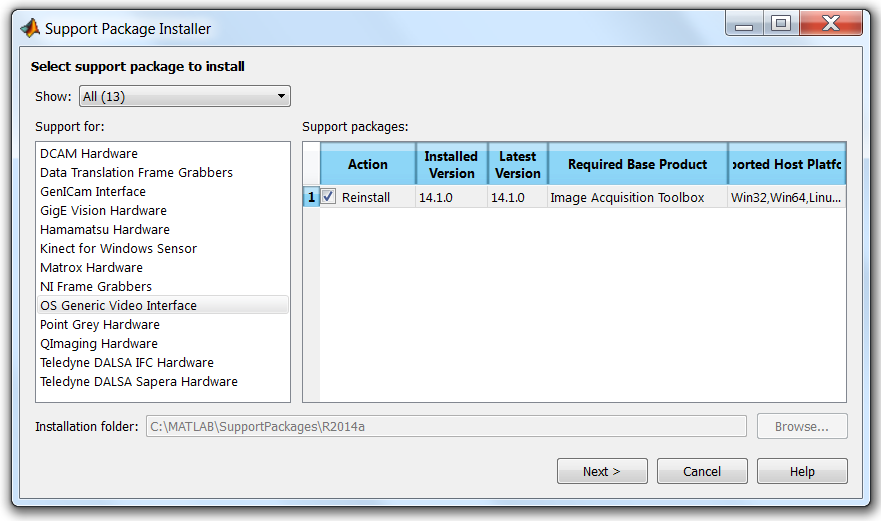
Click on the "Support Package Installer" link to open the Support Package Installer. Or type supportPackageInstaller at the command window.
Select "OS Generic Video Interface" and Click the "Next" button. At this point, you may need to create a Matlab account. This is free, but requires an email address.
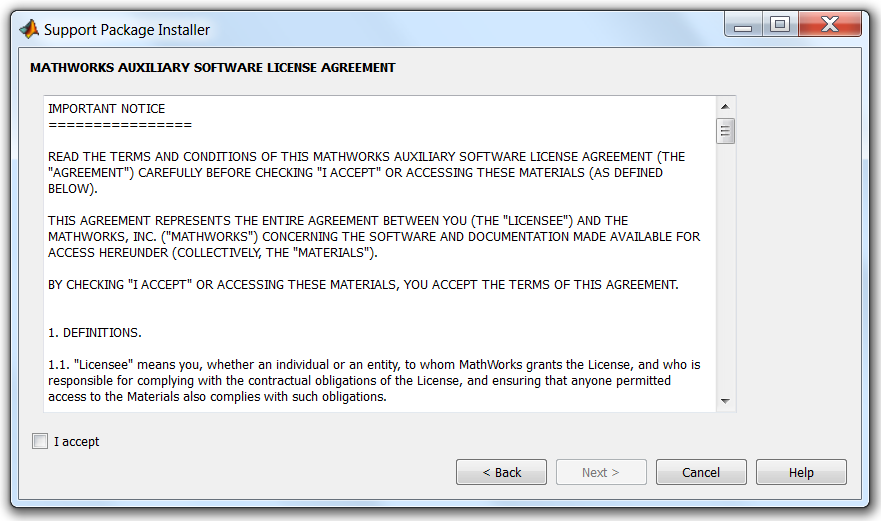
Click "Accept" if you accept the license terms, then next
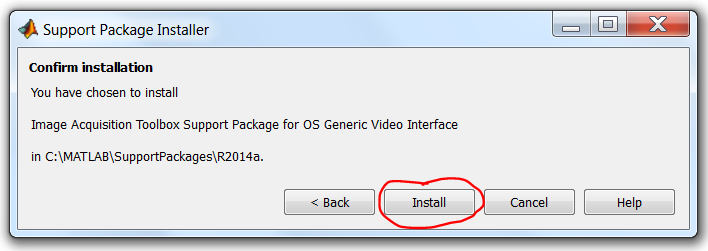
Click "Install"
The install will proceed... this should be fairly quick on a good network.
... and hopefully finish successfully. After this, you should be able to use the zip file to run the demo. Hopefully, I will bring red balloons to serve as the red objects.
Editing the reprojectPoints.m method
To make the 3D display usable, edit the method project point so that it corretly projects a point (or row-vector of points) into 3D coordinates. (This file is found in demo zip, the template below is just for reference.)
% Project point from image coordinates into camera coordinates
% Provides vector from camera center to a point along the ray in camera
% coordinates.
%
% x - horizontal pixel index or row-vector of indices
% y - vertical index or row-vector of indices (increases downward from top
%     left corner)
% fc - vector of focal lengths in j and i directions.
%      that is, fc = [fc_j fc_i] == [fc_x fc_y]
% cc - camera center vector
%      pixel location of the camera center [cc_x cc_y] == [cc_j cc_i]
%
% v - 3xn matrix of projected points in camera coordinates.

% Author: Phileas Fogg
% Term: Winter 2012-2013
% Course: CS498 - Computer Vision
% Assignment: Lab 6 - SIFT feature matching

function v = reprojectPoint(x,y,fc,cc)
To project a point from camera coordinates into world coordinates, use the technique we developed in class to construct an A matrix from the camera parameters. (You can ignore the radial disortion for this demo. But for the best accuracy in future projects, you will need to take it into account.) Then, use the backprojection technique we discussed in class to project the point as a 3D point. At this point you should be able to move the ball in 3-D and see it moving in 3D in the window. (You can rotate Matlab 3D figures using the rotation tool at the top of the figure.)
Fun Ideas
- It's project time! What would you like to do with computer vision? What are three small steps that will move you toward that goal?