## Hint
Not a bug fix, but a suggestion:
Enable copy-paste between your VM and your host machine:
In your running VM, select the menu option Devices -> Shared Clipboard -> Bidirectional.
If you do not see the Devices menu, you may have scaling enabled. Type your right control key + C to turn off scaling. (The right control key is called the "host key" in the VM.)
## Adapting the provided VM to your machine
While installing the VM, you may see this error:
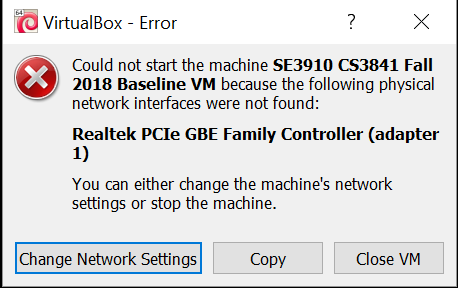
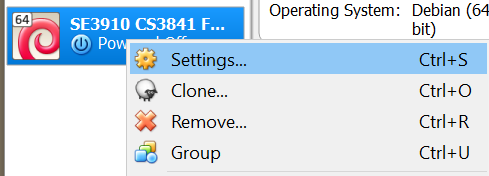
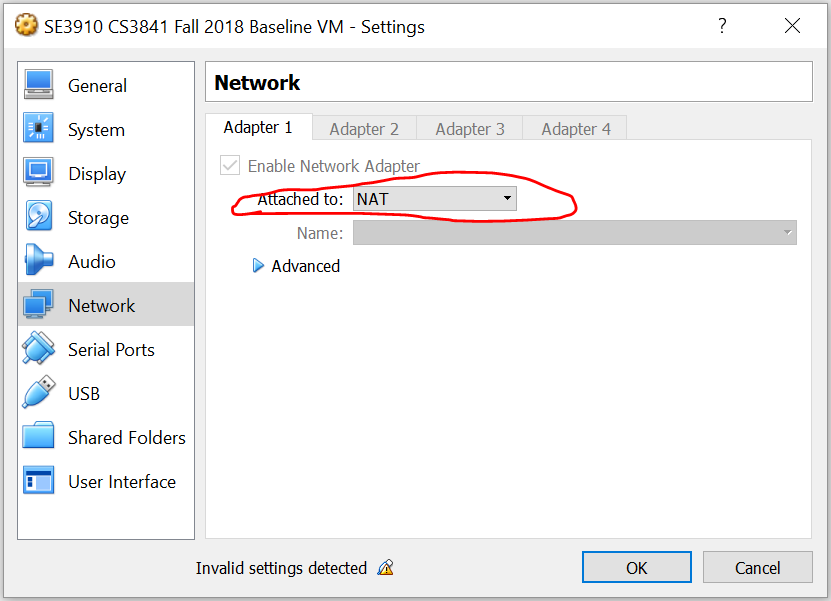
To resolve this error, click on netork settings, or, if you clicked, cancel, open the VM's settings and go to network:
And select NAT as the network type:
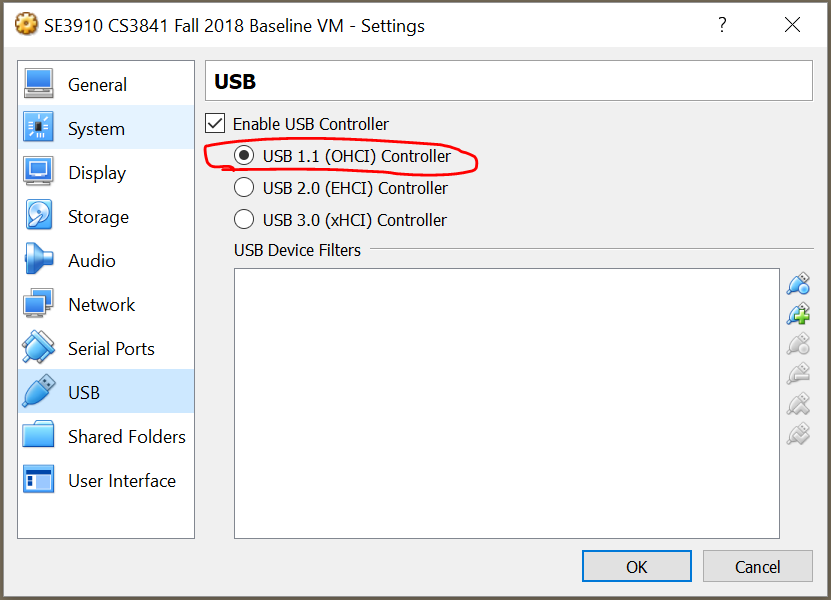
You may also see an error
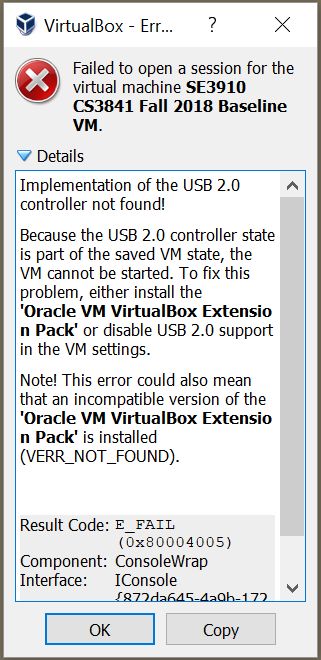
Again, open the VM's settings:

And back-grade the USB to 1.1:
### How to enable USB2.0
In the unlikely event that you require USB 2.0 support, you can complete your VirtualBox installation. A full virtual box installation requires three components:
* The main "VirtualBox binaries" that you have already done
* The "Oracle VirtualBox Extension Pack" from <a href="https://www.virtualbox.org/wiki/Downloads">the same page</a> that you install on your host machine (by double-clicking on it, just like the VirtualBox binary you have already installed)
* "Guest Additions" which is already <a href="VMSetup">installed on the virtual machine</a> provided for the class. This is what provides copy-paste support and mounting of C:\lwshare.
After installing the latest version of VirtualBox and the latest Extension Pack, I was able to boot my VM with USB 2.0 enabled. I doubt this will be required for our class this quarter
<a name="git-gui"></a>
## Problems with ```git-gui```
If git GUI crashes on you, please attempt to use the command line to perform the same task. Run the commands from within the ```lab1``` directory on your virtual machine.
For example, to clone the repository, you can type
```git clone git@github.com/.......git lab1```
Where git@githhub... is the URL (yours will start https://... unless you set up SSH keys first)
To see what will be staged, you can type
```git status```
To stage your changes, you can type
```git add .```
To perform a commit, you can type the command
```git commit -m "My commit message"```
And to perform a push, you can use
```git push```